But recently I was asked by my 7 year old if she can set up recycle bins in the pantry. My current fermentation place. So of course I have to say yes and out goes my stuff to the garage.
Brewing with out a fermentation chamber in New Mexico almost limits you to brewing in the winter as it would cost way too much to keep the entire house cool for the duration.
No basement and no sacrificial fridge.
So in the corner of my garage I have a perfect little area.

My plan was to use a mini fridge. So last year towards the end of the school year I trolled Craigslist in search of a college student looking to unload their mini fridge.
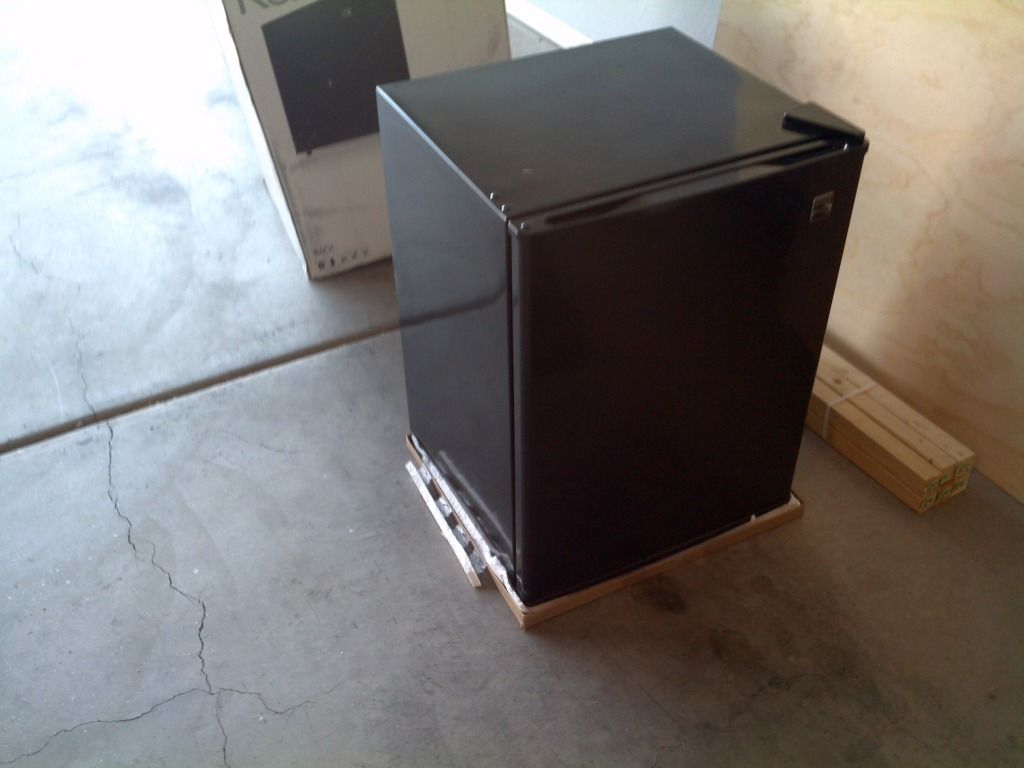
Scored this one for $30

Practically new and he still had the box.
Went to buy the lumber. I had a sketch of what I wanted but I was really going to start with the dimensions of the space i had and work with that.
Base and frame

Floor and Walls on

In this picture you can barely see the area cut out on the left side for the back of the fridge to ventilate.
Nice Fit

Insulation and Door on

Now I must have strolled up and down every isle at Lowe's to try and come up with a way to get the door to seal to the wood frame. I was going to screw metal flashing to cutting custom metal sheets into thin strips. (the seal on the door has a magnetic strip in it to seal to the metal frame of the fridge)
Until finally I made it to what felt like the last isle and found a roll of magnetic tape. Perfect!
Before sticking the tape to the wood I had to cut it to length and let it stick to the seal on the door. Careful attention had to be made that it was placed with the right polarity or it might actually repel. Once I had them in place I pulled the backing off and stuck the tape to the plywood.
Downfall - The adhesive on the magnetic tape sucked. It began to peel off in 5 min. That is why you see it now being held on with thin strips of Foil tape. That stuff held great. Not as clean looking as I wanted but it works.
Door Shut

View Inside

Above you can see how the mini fridge sits. You can also see the floor. The floor is plywood on the bottom, then a layer of insulation, then covered with panel board to protect the insulation from tearing.
I put a piece of insulation on top and a sheet of plywood on top of that and plugged in the fridge for a test run. It dropped from 80°F to 70°F in 5 min but never went below that. Fridge was cooling well but it wasn't cooling the space inside.
I found that the vent out of the side of the box wasn't enough. The sides of the actual fridge itself were getting warm. I knew this is part of how a fridge works but forgot. So I then sealed it off from the main area inside as you see below.


I then added some fans to help circulation on the left side where the fridge was. This would allow the sides of the fridge to get some circulation and hopefully keep it from overheating. The fans were (2) 80mm computer fans from Best Buy. The power source was a Printer Power Supply from the bone yard at work.
Also added the Johnson Control Temp Controller and the top to the box. The top is plywood with a sheet of white panel board on top.


Currently it is working like a charm and is housing the current batch of Oatmeal Stout. It's fermenting away and sitting right at 65-67°F
No comments:
Post a Comment